A couple of weeks ago I scored two old trunks off Craig's list for $20 each. Right away Chloe told me I had to keep one of them and I wasn't allowed to paint it. I don't have any current photos of that one, it's going to be a winter project, but this story is about the other one anyway. This one:
And her insides were just as pretty:
I had a couple inspiration pieces in mind for doing an old trunk like this. One was this trunk from Ava Blake over at
Ava Blake Creations:
And the other one was this one:
From
In The Fun Lane although when I saw it on Pinterest I thought it was white, and I liked the idea of an all white trunk, but if you read the blog it's actually grey. Oh well, it was still my inspiration piece. :)
So here's how I combined these two ideas, and I would show you a really fancy photo here, but when I took my fancy photos I forgot to take a really good shot of the top of the trunk, so you get a cell phone shot:
I used two coats of Kiltz white primer for the body of the trunk. The graphics came from
The Graphics Fairy and were done using black craft paint. I did end up using the same address as Ava did, which I didn't want to, but I needed the short, long, short line of it to fit between the leather parts. I looked all over the graphics fairy and just couldn't find one that fit as well. I don't have the link to the actual graphics I used but the date/address came from an old wheat sack graphic and the stamp came from a group of Paris graphics, so maybe that will help you find them in a search if you are looking. Then the peanut gallery chimed in and said that I should have left the metal pieces alone or paint them silver - yea, no. I did paint them a metallic white though and the peanut gallery was happy.
Here's a pretty photo of it at my neighbors pond.
And here is the inside:
I spent $14 extra to have that over sized print done at Office Max, I just knew I wanted it in there. I got it at
Agence Eureka, I love that blog, I can't read a thing on it but it's a fantastic spot to get vintage French graphics.
I decided I could probably make a fast sell of it if I advertised it to photographers. I knew it would make a great prop and has the added benefit of being able to be used as a furniture piece like a coffee table, and hold other prop storage, like all those baby blankets! So I grabbed one of my
models children and made her come down to the pond with me. See this is how we get to the pond:
Here are a couple of shots we took for advertising:
It sold an hour after posting it.
BTW this is my youngest daughter, my oldest said she's not going to pose for me on my furniture pieces for my blog. She says that makes
her the prop and she wants to be the center of attention. Isn't that funny, true, but still funny.
Also did you notice that my daughters fingernail color changed between the two photos of her, we didn't have time before I lost light to take the polish off, but I did not want that ugly green distracting from her face, got to love photoshop!
So that's my Paris trunk flip.
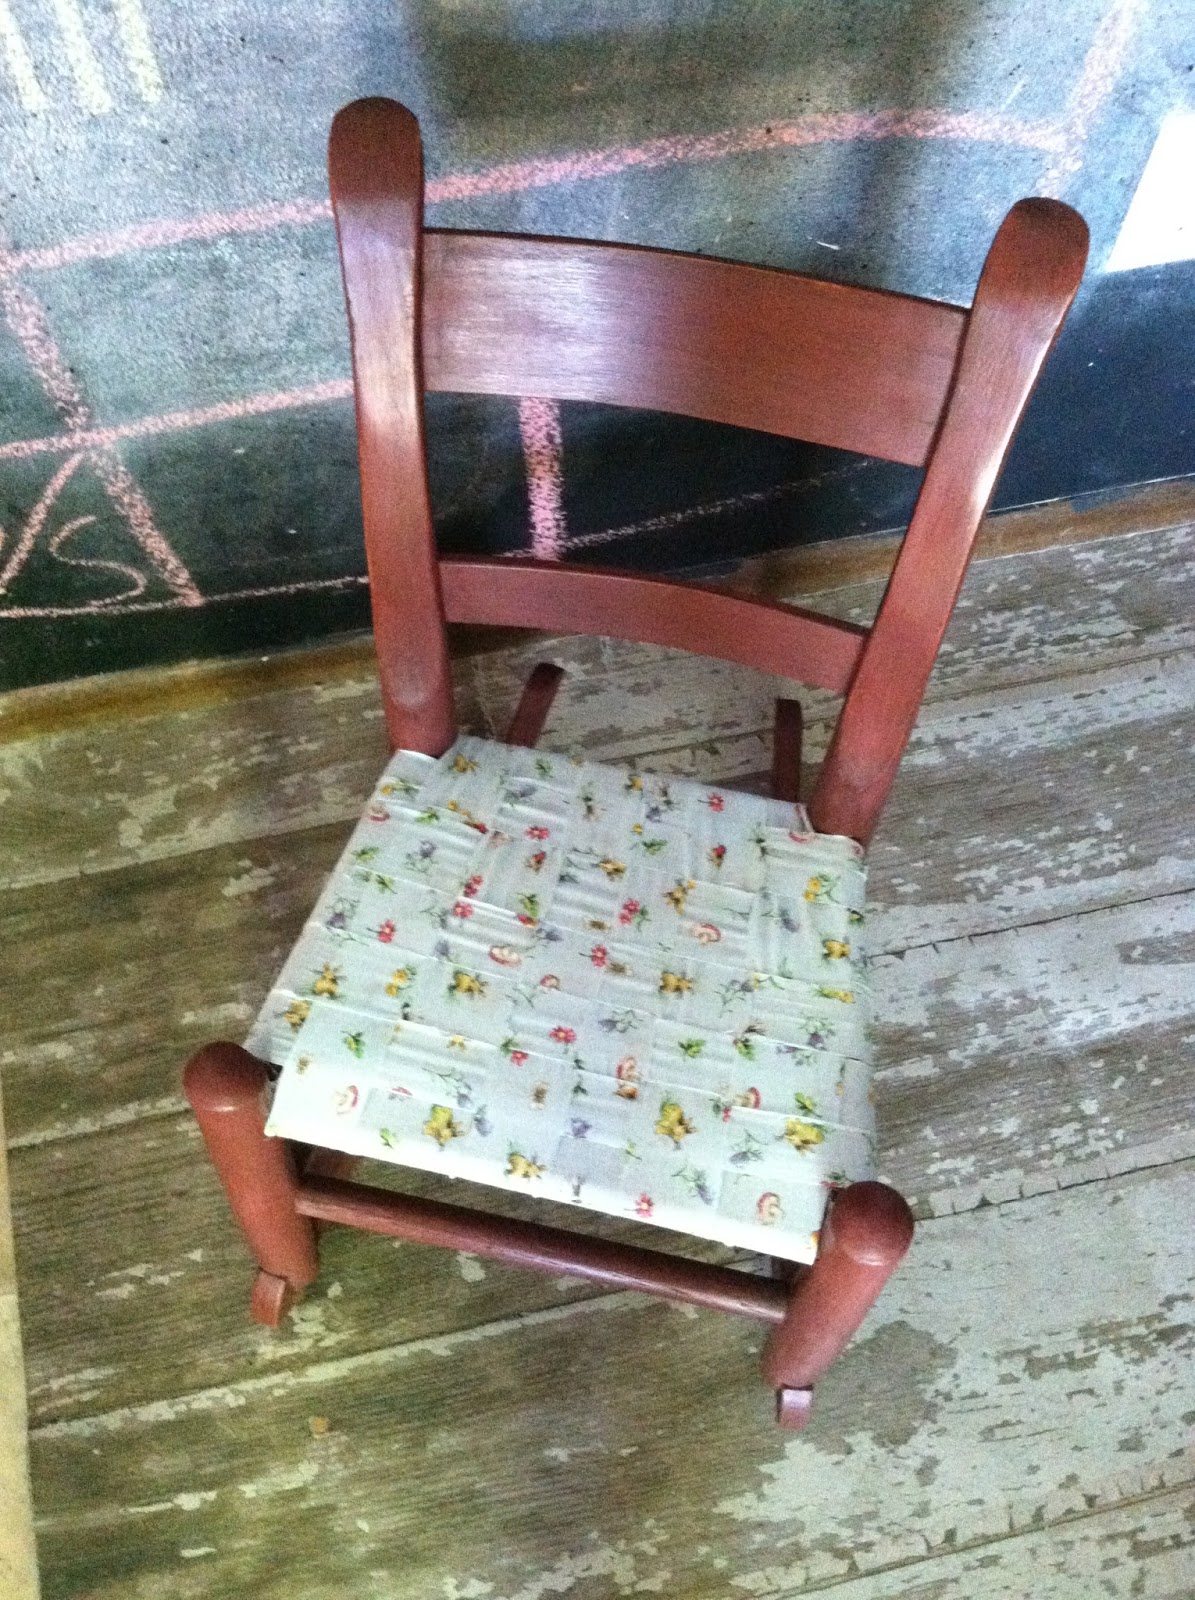
Now I'm waiting for paint to dry on this child's rocker.
It's a mess, but don't worry I have a plan.
I'll show you next time. :)
Until then, happy painting!
D.